How to transfer stickers from Telegram to WhatsApp: Android
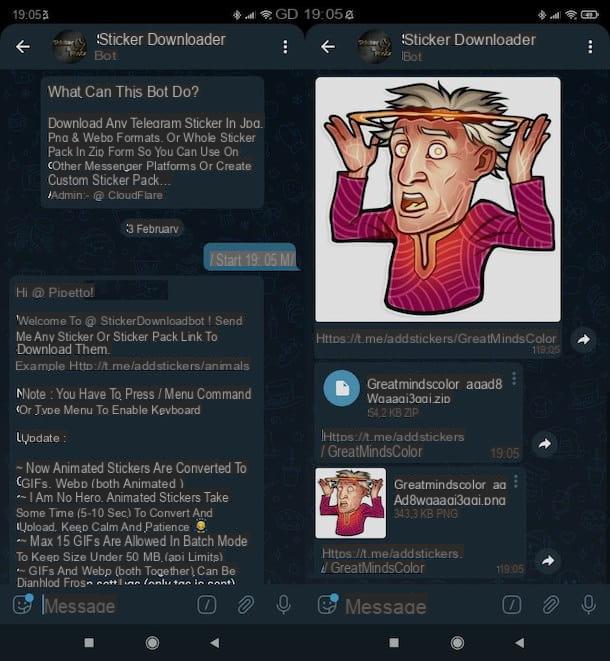
Let's see first how to transfer stickers from Telegram to WhatsApp on Android. As I anticipated in the previous lines, to do this you must first download the stickers, saving them locally as a PNG or GIF file using a bot that is useful for the purpose. Subsequently, using an ad hoc app, it is possible to convert the images into stickers to be imported into WhatsApp.
So, first, open the Telegram app and look for the Stickers Downloader bot (in this other tutorial I showed you how to do it), or click on the link I just provided, in case you are reading this guide from the device of your interest. Now, press the button starts, give the command / start through input field place at the bottom and press Submit on the keyboard of your device.
Now, tap on thesticker present on input field of Telegram, tap on sticker representing the package to be imported into WhatsApp and wait for it to be downloaded. Then press on the name of theZIP archive obtained and extract it to a folder on the device.
Then press on the wording Extract files to, select the folder in which to export everything and tap on the button Extract. Then, press onarchive that you imported into the location in question, so as to open it and verify that the sticker to be sent on WhatsApp are all present.
With this done, install and start an app to create stickers for WhatsApp: in this case I recommend Sticker Maker by Viko, which you can find both on the Play Store and on alternative stores, if you have a device without Google services). This is the app that will allow you to transform the images downloaded through the bot into real stickers.
Once the latter is started, press the button for create a new sticker pack and insertion il name to be given to the package in the first text field and yours you don't know In the second. Then confirm the creation of the package using the button creates.
In the new screen that has opened, tap on one of the squares visible on the screen, select the item Select file, go to the position where is the archive containing the images to be transformed into stickers and tap on the preview of the one you are interested in.
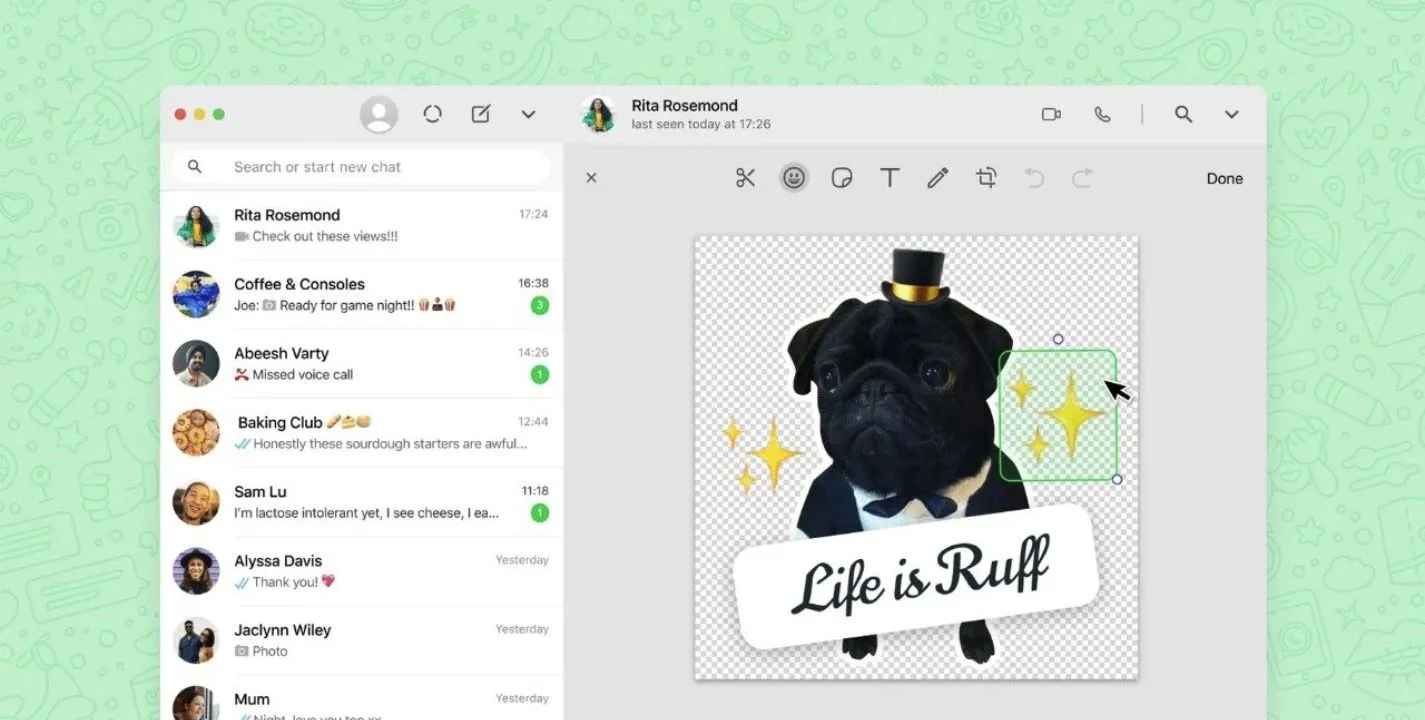
The image should already be cropped and with a transparent background (if so you can press the item Select all), but if necessary you can act on it through the function Smart selection to automatically remove the background from the photo; alternatively you can do it freehand or, again, using preset shapes. When you are ready to do it, save the stickerby pressing the appropriate button. Then repeat the steps I just showed you for all the other stickers to be included in the package.
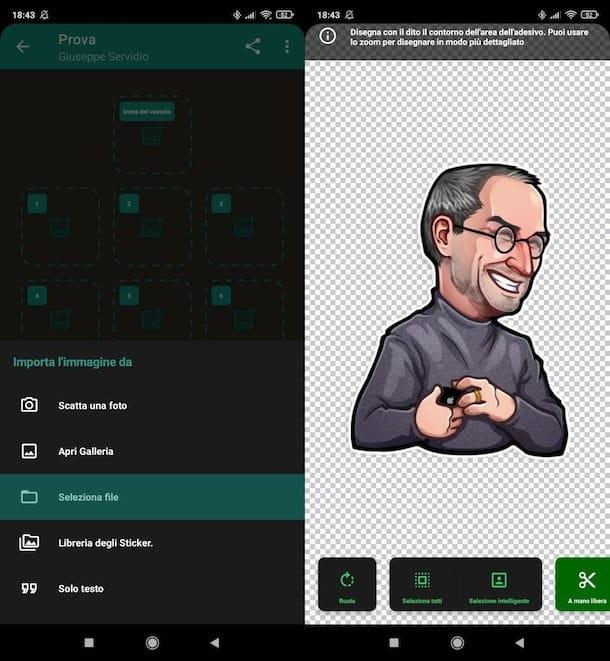
Once you have finished creating the package containing the stickers created on the basis of those on Telegram, press the button Add to WhatsApp (in the screen with the boxes) and confirm the operation by tapping on the item Add. This way, the package will be imported into WhatsApp and you can use it like any other sticker package.
I remind you that the stickers created through apps of this kind can be shared personally with other contacts on WhatsApp, but to make them public and downloadable by everyone, they must be included in apps to be published on the Google and / or Apple stores (something quite complex ).
For more information on the procedure to send stickers on WhatsApp and share those created with an app such as Sticker Maker by Viko (basically, you need to have your friends install the same app and share the sticker package through it), read my dedicated tutorial to the topic.
How to transfer stickers from Telegram to WhatsApp: iOS
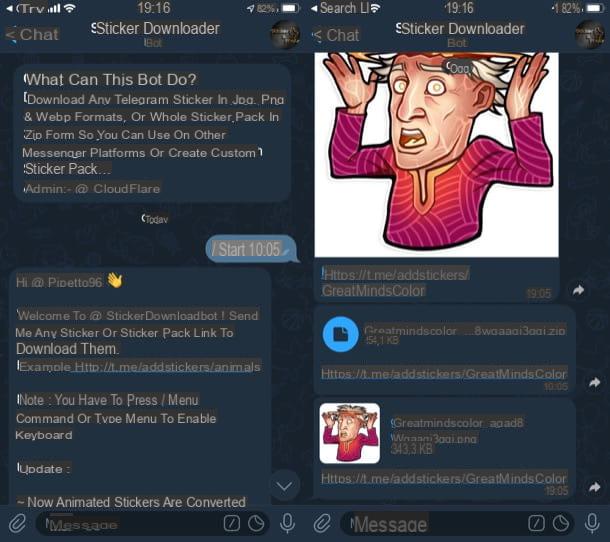
Now, instead, let's see how to transfer stickers from Telegram to WhatsApp on iOS. The steps to follow are essentially the same as I indicated in the chapter on Android, as the resources already mentioned are also available for Apple's mobile platform.
Also in this case, in fact, the first thing you need to do is open the Telegram app and look for the Stickers Downloader bot (in this other article I explained how to do it), or press the link I just provided you you are consulting the guide from the affected iPhone. Next, hit the button starts, give the command / start through the input field located at the bottom and press on arrow (bottom right).
Now, press the symbol of sticker present on input field of Telegram, tap on the symbol ofsticker related to the package to be imported into WhatsApp and wait for it to be downloaded. Once this is done, press on the name of theZIP archive obtained and extract it in a folder of the "iPhone by".
Then click on the icon of arrow inside the square (top right), presses on the voice Save your File in the menu that opened and save the content in the desired location. Then go to the position in question, press the button (...) (top right), tap on the item Select, choose the images to save in the roll (or on the voice Select all to select them all), tap on the symbol of arrow inside the square (bottom left) and select the item Save [N] images.
Now, proceed to install and launch Sticker Maker Studio on your device (it's the “twin” app I told you about in the chapter on Android). Through the latter you will have the possibility to transform the images contained in the ZIP archive into stickers.
After starting Sticker Maker Studio, click on the button that allows you to create a new sticker pack, provide the name to be given to the package in the first text field and yours you don't know in the second and then confirms the creation of the package through the button creates.
In the new screen that has opened, press on one of the squares visible on the screen, select the item Gallery and tap on the preview of the image to turn into a sticker.
Since the image should already be cropped and with a transparent background, click on the item Select all; otherwise, if you need to act on it, know that you can do it through the function Smart selection to automatically remove the background from the photo, do so freehand or using preset shapes. As soon as you are ready, save the sticker, by pressing the appropriate button, and repeat the steps I indicated for all the other stickers.
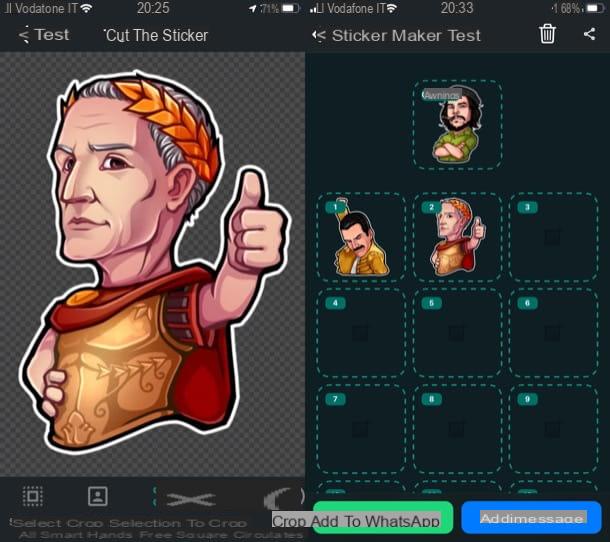
Once you have finished creating the package, press the button Add to WhatsApp (in the main package screen, the one with the boxes) and confirm the operation by tapping on the item pri.
By doing so, the package will be imported into WhatsApp and you can send the stickers included in the latter to your contacts (if you don't know how, take a look at the guide in which I explained how to send stickers on WhatsApp).
I remind you that the stickers made through apps of this type can be shared personally with other contacts on WhatsApp (through chats or the same apps used to create the stickers), but to make them public you must include them in applications to be published later on the stores of Apple and / or Google.


