Do you have an Xbox One or an Xbox 360? And are you planning on getting an Xbox Series X (or an Xbox Series S)? You have certainly made the right choice. Because, Microsoft has equipped its new pair of consoles with the necessary technologies to take you to a new generation of video game entertainment without confusing you. And here is precisely a file to facilitate this transition as much as possible.
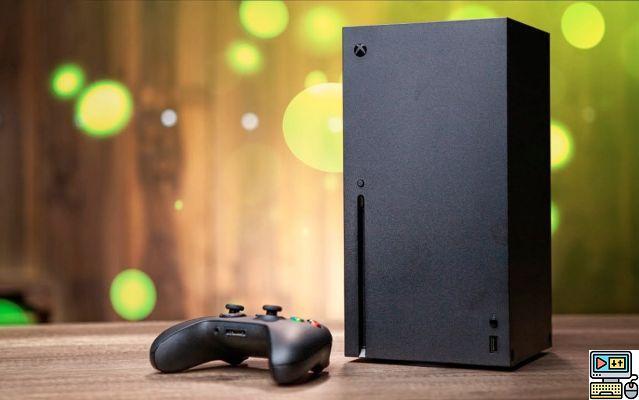
This week, the Xbox Series X and Xbox Series S finally release, after nearly two months of pre-order. These two new consoles, one of which has been fully tested in our columns, offer a next-generation gaming experience, even for those who have bought an Xbox One X or a PlayStation 4 Pro. And even more if you're still playing on one of the consoles that came before them, the PlayStation 3 and Xbox 360.
Among the great novelties of the Xbox Series X, you will naturally find support for games in 4K at 60 frames per second, taking charge of the Ray-Tracing (this new display technology which makes it possible to generate particularly realistic dynamic reflections) or even the integration of volumes of SSD storage for particularly short loading times. Needless to say.
Step 1: plug in the console
To plug in the Xbox Series X or Xbox Series S, there are only two main steps: plug in the power cord and the HDMI cable. That's all. With this you can already start using the console.
If you have an Xbox One (One, One S, or One X), you have the option to reuse the cables from your old console. Indeed, connectivity is identical in every way. Like the One, the Series X / S integrate electrical transformers into their chassis (a big difference with the Xbox 360). In addition, they only rely on a standardized connection for the audio / video signal: HDMI.
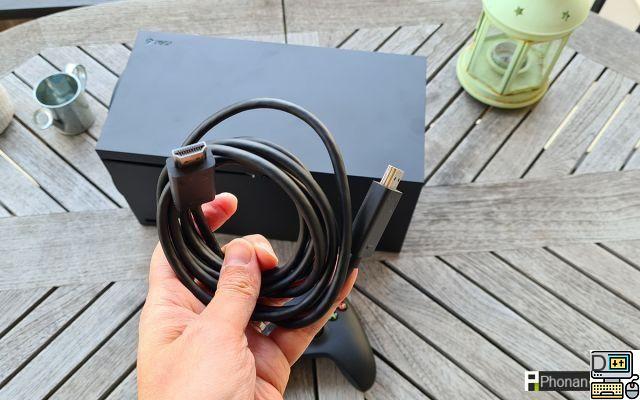
If you have an Xbox 360 Slim, you might already have been using an HDMI output to connect the console to your television. If this is not the case, you will therefore have to change the connection. Either way, that's going to be a huge change, as you're going to go from 480p to 4K definition (if your screen allows it).
There is an additional step, completely subsidiary, in the installation of the Xbox which should not be neglected: Ethernet cable. Microsoft does not provide this cable with the Xbox Series X. But, if you have the option of connecting the Xbox Series X with an Ethernet cable, you will not only gain speed in downloading games, but also stability in online games. . In addition, you also free up bandwidth on your WiFi network, which is not negligible either.
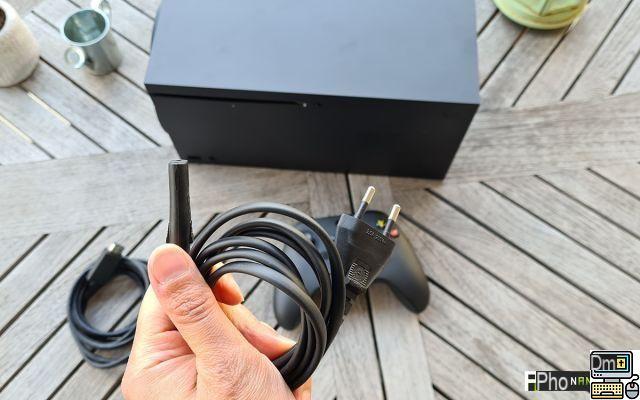
With the new standard HDMI 2.1, you no longer need an optical audio connection. All necessary information is now passed through the HDMI cable, even for complex audio systems. It is for this reason that the Xbox Series X and Xbox Series S do not come with optical audio output.
Step 2: Configure the network and gamertag
The second step is just as simple. It is a question of configuring your Xbox Series X and of repatriating your personal information there ... the famous Gamertag ! Note that when you turn on your console for the first time, the controller delivered with it is directly paired. No need to configure it.
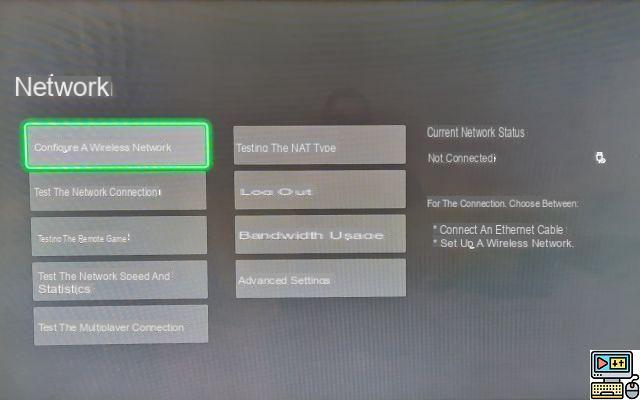
The first step in setting up Xbox Series X is networking. If you have opted in the previous step for a wired connection (Ethernet), the console will see it immediately. It will obtain a local network address from the DHCP of your Internet Box and will connect to Xbox Live.
If you opt for WiFi, the console will present the list of available networks to you in a very classic way. Choose yours, enter your password, and the console will perform connection tests. If all is well, the console will confirm that it is connected to Xbox Live and all online services.
Once logged in, the console will ask you if you already have an account. Since this is a migration, we'll assume it does. Enter your username and password so that the console retrieves all the information about your account: Gamertag, Xbox Live status, achievements, reputations, list of friends, player image, etc.
If you are coming from an Xbox One, all settings are already compatible with your new console. If you're coming from an Xbox 360, a few small tweaks are needed. The player image is no longer in the correct format. You will therefore have to choose another one. Then the new avatar creation tool is not compatible with your old avatar. You will therefore have to change it as well. Also, don't expect to claim your avatar rewards from in-games.
Note that it is also possible to configure your console using the Xbox app available on the Play Store (a process that is similar to configuring an Android TV device using an Android smartphone). With this app, connected to your Xbox Live account, you can purchase games, start remote downloads, and even play remotely (streaming). It is a very good application, very useful and very complete.
Step 3: reinstall the games
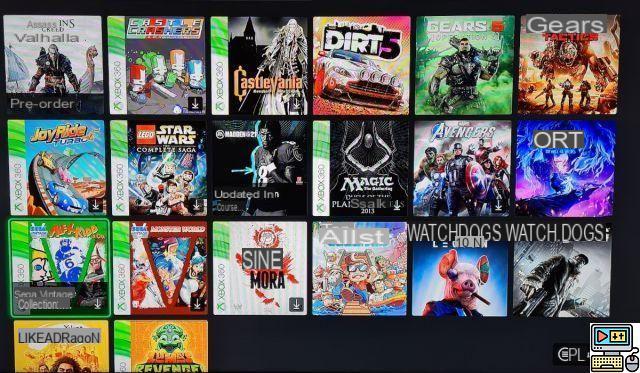
The third step is certainly the one that will take you the most time: choosing the games and, possibly, downloading them. As we saw in the Xbox Series X review, virtually all games on the Xbox One are compatible with the Xbox Series X / S. Several hundred Xbox 360 games are also compatible (the rare exceptions have generally been the subject of a remake which is supported by backward compatibility), as well as a few dozen classic Xbox games.
For Xbox One games, if you have chosen the Xbox Series X, the repatriation of games will be faster : you have access to the console's optical drive to reinstall your games. It will then be enough to connect to the Microsoft Store to download any updates, as well as DLCs and extensions. With the Xbox Series S devoid of an optical drive, you're good to download everything again. Note that unlike the Xbox Series X, you won't be able to import your physical Xbox 360 games to the Xbox Series S, but only those that you purchased from the Microsoft Store.
For games from previous generations of consoles, there is no choice: a full download is required, even if you have the game disc. When you insert it, the console recognizes the title, then offers you to download an update which, coincidentally, is the size of the entire game. This is the version optimized for the Xbox One, the original version will never be installed on the console hard drive.
With an optical fiber connection and an Ethernet cable, you need a good quarter of an hour to download an Xbox One game and a few minutes for an Xbox 360 game. With an ADSL connection, even of very good quality, you will need several hours to download an Xbox One game.
On the Xbox Live Arcade side, not all games will be compatible with the Xbox Series X. Far from it. Generally all the “Arcade” titles which made the transition to the Xbox One will be compatible with the Xbox Series X. Some examples: Castle Crashers, The Walking Dead, Plants vs Zombies, the excellent Sine Mora, the mythical Castlevania Symphony of the Night or Assassin's Creed Liberation HD.
Finally, on the Xbox Live Indie side, no independent title released on Xbox 360 is compatible with the Xbox Series X. They were not already compatible with the Xbox One. It is therefore quite logical.
Step 4: repatriation of backups
The repatriation of backups can be excessively simple as well as rather complex. It all depends on the one hand on your Xbox Live status (Silver or Gold?) And on the console from which you want to retrieve your backups.
First scenario: you switch from the Xbox One (One / One S / One X) to an Xbox Series X / S. You have three ways to transfer your backups:
- By copying them directly to an external hard drive (or a USB key). Go to the Xbox One Storage Manager and copy the files you want.
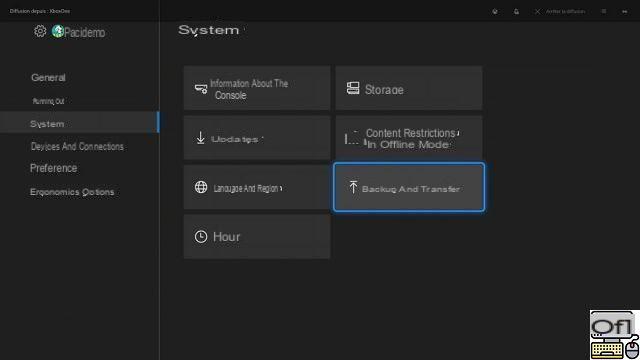
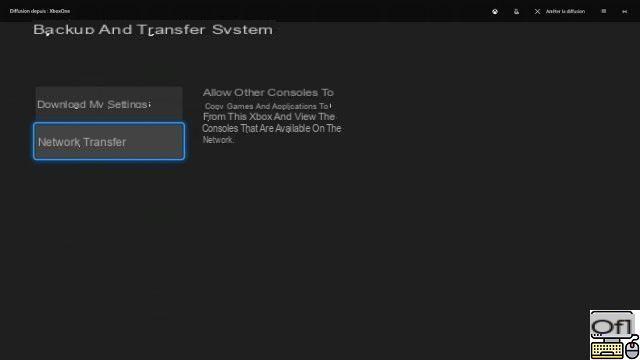
- By transferring them to your local network thanks to the transfer tool included in the interface of the Xbox One and the Xbox Series X (see screenshots opposite)
- By copying your game saves to the cloud from the Xbox One. Thanks to this, you can find your progress on all consoles, on PC and on xCloud where you use your Microsoft account.
Second scenario: you switch from Xbox 360 to Xbox Series X / S. It is not possible to connect a common storage medium to the two consoles. Indeed, the Xbox 360 takes advantage of a special file system. If you want to copy games, applications or games to this medium, you must perform specific formatting of the storage media, whether internal or USB.
And, obviously, this formatting is not compatible with the Xbox Series X / S. The only solution is therefore to save your games to the cloud with Xbox Live. To do this, here is the procedure to follow:
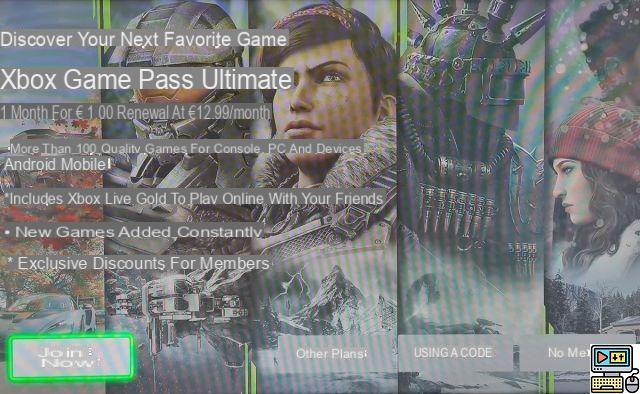
- On your new console, Activate your XNUMX-month trial period for Xbox Live Gold or Xbox Game Pass Ultimate. Thanks to this, you activate the backup of all your games on the cloud. This step is unnecessary if you are already an Xbox Live Gold member (which is included with Xbox Game Pass Ultimate).
- On your old console, go to Settings> System> Storage. From here, go to the Cloud storage option, press Y and choose the “Activate” option.
- Since you validated your Gold status in the previous step, you can perform data transfers on this virtual hard drive. If this is not the case, the option will be grayed out and inaccessible, even if you have activated it.
- Then browse your Xbox 360's local storage media for copy the content you want to transfer to the virtual disk. We do not recommend that you place games or extensions on it. You will find them in the library of your new console. Place your game saves there (one by one, unfortunately).
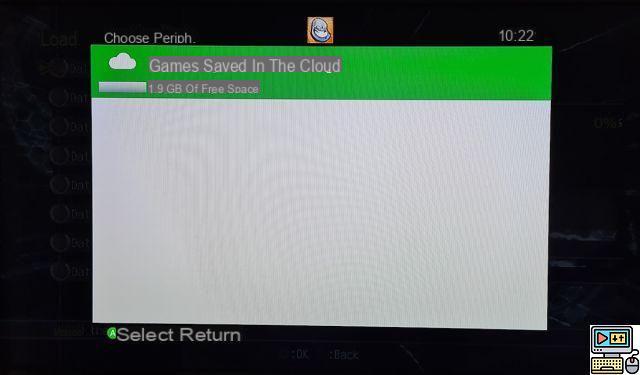
- Once you've transferred your backups, go to your new console. When launching a game, choose " Cloud Saved Games In the available devices, to retrieve your save and continue your game.
So that's all there is to know about migrating from an Xbox 360 or One to an Xbox Series S / X. We hope you find this file useful and answer your questions. If you have any difficulty, post a question in the comments and we'll try to answer it as accurately as possible. Note that we have also published a similar tutorial for future owners of a PlayStation 5 who will want to transfer their saves from their PlayStation 4.


