What is WhatsApp status and how does it work
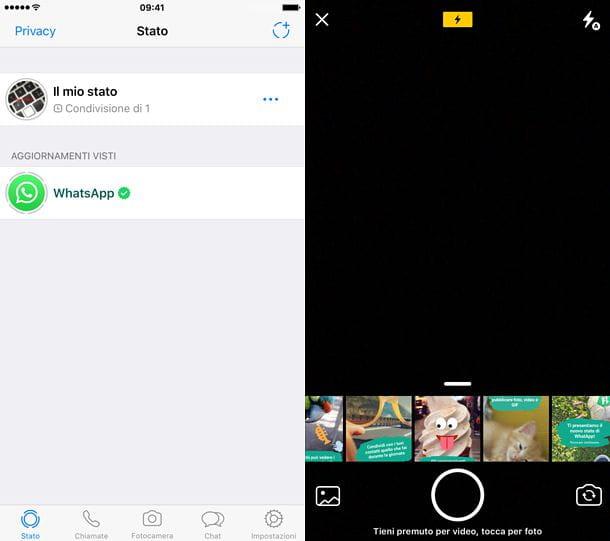
Before explaining to you how WhatsApp status works, I want to provide you with some useful preliminary information in this regard.
First of all, it must be said that, in a similar way to Facebook and Instagram stories, WhatsApp statuses are nothing more than a feature that allows you to publish photos and videos and share them with your contacts. These contents are visible in a special section of the WhatsApp app for Android and iPhone, but also from a PC (via WhatsApp Web or the WhatsApp client for Windows and macOS), and last for 24 hours.
Going into even more detail, each WhatsApp status is a collection of multimedia elements, such as photo, video (maximum 30 seconds), GIF o textual elements displayed in sequence. They are visible to their contacts (or those selected, based on their privacy preferences) only for a maximum duration of 24 hours; after which they disappear and are no longer viewable.
In addition, it must be said that each element included in the state can be customized: it is possible to realize Captions, written, it can be draw by hand on images and videos and can be applied sticker and / or emoji.
Finally, you must know that, once shared, the status of WhatsApp will automatically be visible to all contacts in the app. In any case, if you want to limit the visibility to a specific circle of users, it is possible to act through the settings, limiting the sharing of the status, as I will explain shortly.
How to get WhatsApp statuses
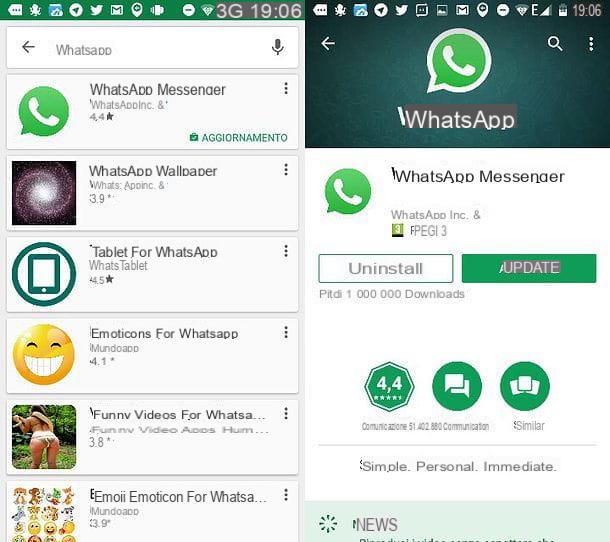
Having made the necessary premises mentioned above, we can go to the point. In order to create a WhatsApp status, you need to check that you have updated the well-known messaging application on the latest version Android e iPhone.
Therefore, come on Android, start the Play Store and check for any updates by opening the app tab. In case there is a need to update the app, press the button Update, to perform the update.
Su iPhoneinstead, to check for an update for the WhatsApp app, start theApp Store and visit the description of the application: if the button is present Update, press on it and wait for the update to complete. More info here.
How WhatsApp Status Works
Now it's really time to find out how WhatsApp status works. Before starting, keep in mind that the statuses of WhatsApp, which can only be achieved by smartphone Android e iPhone, they are also visible through the Web version of WhatsApp and in the desktop client for Windows and macOS.
How to create a status on WhatsApp
As anticipated, the status of WhatsApp is only achievable from the mobile app, both on Android that of iPhone: the steps to take are the same on both operating systems.
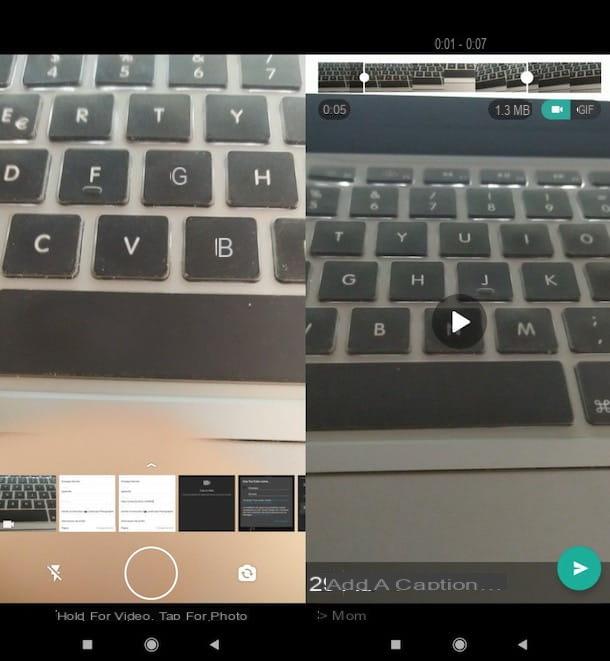
Therefore, for create a status on WhatsApp, the first thing you need to do is go to the section state present in the app. Once this is done, press the button with the camera symbol or the one with the pencil symbol: the first is used to publish a multimedia state, the second to create a textual one.
In the first case, you can publish a photo taken on the spot or one made previously, which can be selected from those present in the Gallery of your smartphone. Once you have chosen the element, you can customize it: to do so, press on square symbol to make a cutout; on the smiley face symbol if you want to add stickers and / or emojis; or on T symbol, if you want to write a text on the element Finally, pressing the button with the pencil symbol, you can draw freehand.
Instead, by tapping the button with the pencil symbol, you can create a textual status by typing a text and applying a colored background, which you can change using the icon of palette.
Once the status has been created, to share it with your contacts, click on the button arrow located at the bottom right. The WhatsApp status created will be shared in the section State of the app, where it will be visible to your contacts for 24 hours.
How to see who views WhatsApp status

Once the WhatsApp status has been published, you can easily find out who viewed it: to do so, in fact, you can select the tab State of WhatsApp and press on the wording My status.
At this point, do one swipe down, in order to see a numerical indicator that refers to the views received for your status and the names of the people who have seen it.
How to remove WhatsApp status
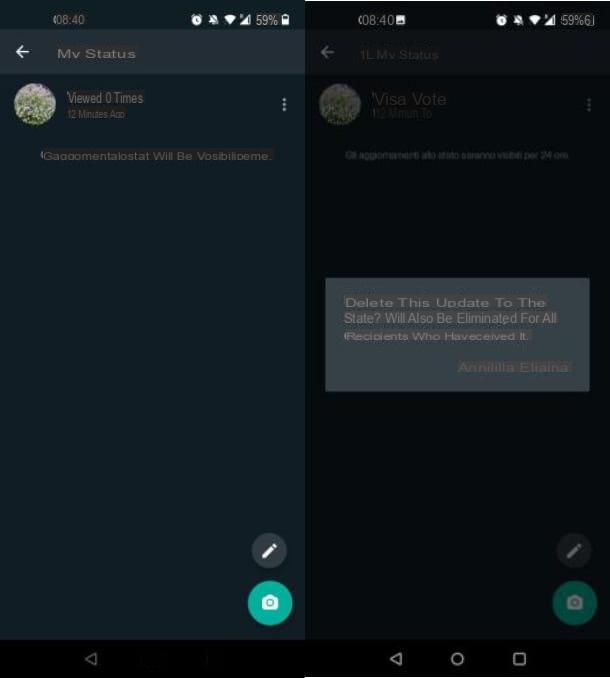
If you wish, you can, at any time, clear the state posted on WhatsApp. To do this, go to the section State of the app and tap on the item My status.
At this point, click on the icon (...) and, in the menu that is shown to you, click on the button Delete. Finally, confirm the operation by pressing the button Delete.
How to hide WhatsApp status from some contacts
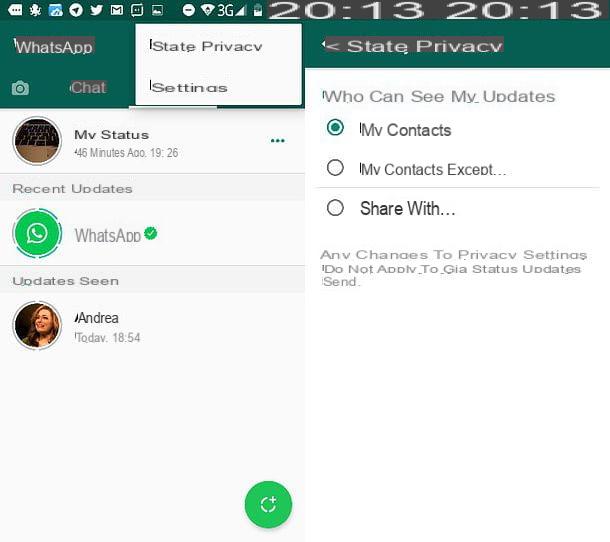
Do you want the status you published to be seen only by some people you want? No problem, I'll explain how to act on it Android that of iPhone.
Su Android, go to the section State of WhatsApp, press the button (...) and touches the voice State privacy. On iPhoneinstead, go to the section Settings> Privacy> status.
At this point, in both cases, choose who to share the WhatsApp status with: the options allowed are My contacts (allows you to allow the display of the status to all your WhatsApp contacts, without limitations), My contacts except ... (allows you to exclude some people from the status display) e Share with (to share status only with specific selected contacts).
How to see the WhatsApp status of others
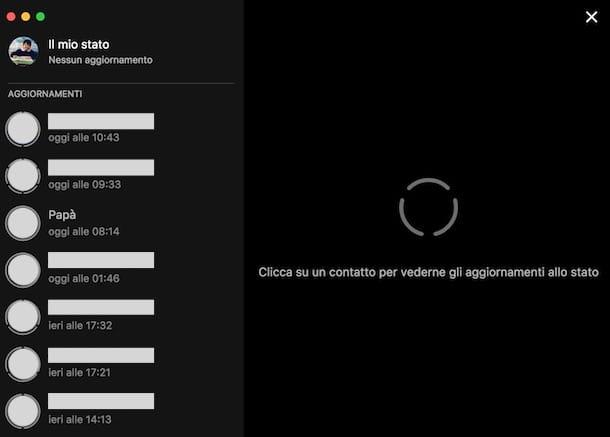
see the status of WhatsApp published by the people you have in your contacts, you can act from both a smartphone and a PC. To do this, all you have to do is go to the section State of WhatsApp (which on PC is marked by the icon of broken circle).
In this screen, in fact, you will be shown the people among your contacts who have published a WhatsApp status: to see the published content, all you have to do is press on it. Easy, right?
How to share the WhatsApp status of others
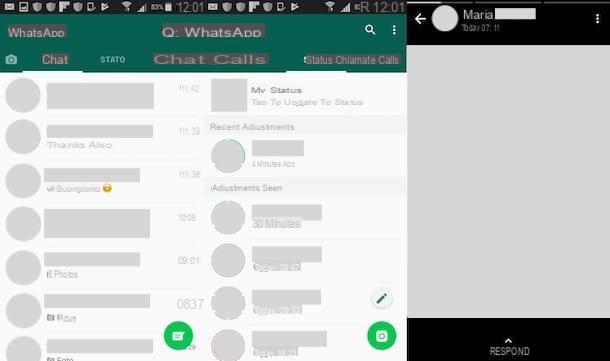
WhatsApp does not allow you to natively share the images or videos of others published in the state; therefore, the only way to do it, in case you have the permission of the owner of the content in question, is to carry out it screenshot or the screen recording, through the native features of the device in use (or with third-party applications).
For example, on many devices Android you can screenshot the screen by pressing the keys together Volume Down e On / off / lock button. To register the screen, press the keys simultaneously Volume Down e On / off / lock button. Finally, to stop recording, press the button Stop located at the top.
Su iPhone, on the other hand, to take the screenshot of the screen press simultaneously (on the models of iPhone with Face ID), the right side button and Volume up key. On the models of iPhone with Home buttoninstead, press the side button and Home button.
Screen recording, on the other hand, can only be performed starting from iOS 11: to execute it, press the red round button Located in the Control Center (accessible with a swipe from the top right corner down on models with Face ID and from the bottom of the screen, in the center, upwards on models with the Home button). Finally, to stop recording, press on the bar red at the top and then confirm the operation by pressing the button Stop.
In case of doubts or problems in carrying out the above procedures, refer to my tutorial in which I will explain in more detail how to share the WhatsApp status of others.
How to see WhatsApp status without being seen
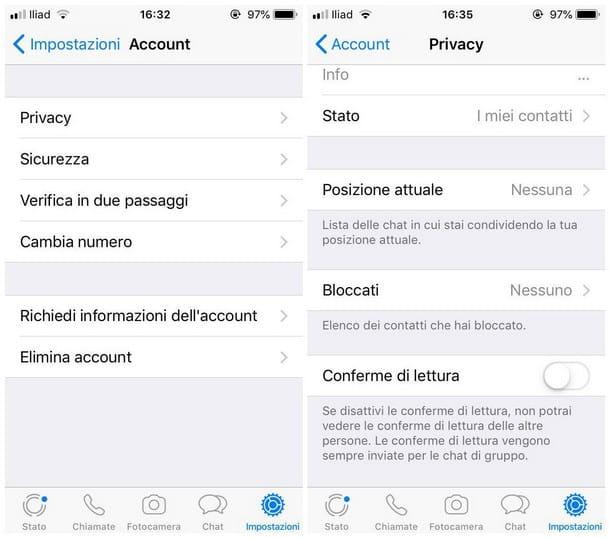
If you want to see the WhatsApp status published by your contact without letting them know that you have viewed it, you can disable the read confirmations; However, this option also affects other features of the messaging app.
Remove the "Blue check", in fact, it allows you to remain anonymous on WhatsApp: your contacts will not know when you have read their messages; however, reciprocally, you will not be able to know when others are reading your messages (except those sent in groups) and you will not be able to know the names of who views your status.
If you intend to proceed anyway, go to the section Settings> Account> Privacy and finally move up OFF the lever located in correspondence with the wording Read confirmations, in order to disable this feature. For more information on this, refer to my tutorial dedicated more specifically to the topic.


